As the winter season descends upon us, a reliable snow blower becomes an indispensable tool for clearing paths, driveways, and sidewalks from the relentless snow. Among the leading manufacturers of snow blowers, Sno Tek stands out for its exceptional performance and durability. Starting a Sno Tek snow blower can seem like a daunting task, but with the right knowledge and preparation, you can get your machine up and running in no time. In this comprehensive guide, we will take you through the step-by-step process of starting a Sno Tek snow blower, ensuring you approach the winter weather head-on.
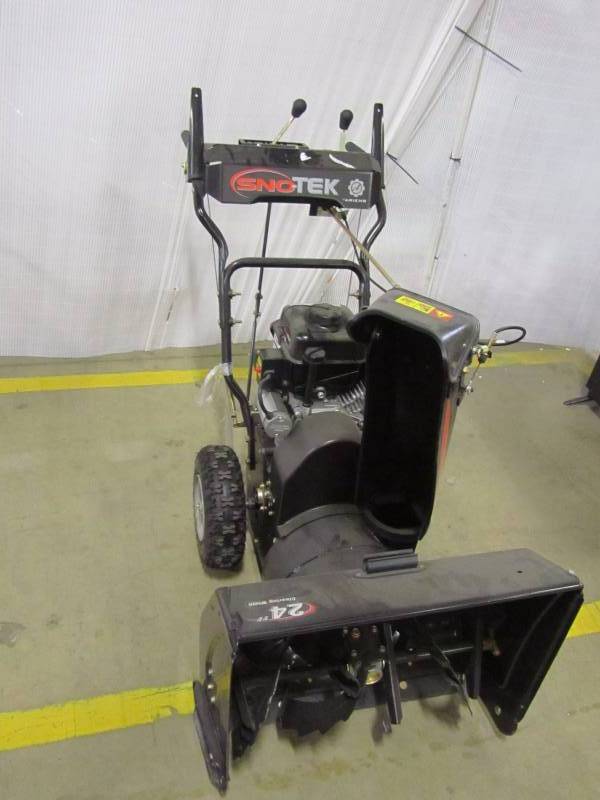
Image: www.k-bid.com
Fueling Up Your Sno Tek Snow Blower
Fuel is the lifeblood of any engine, and a snow blower is no exception. Before attempting to start your Sno Tek snow blower, ensure it has an ample supply of fresh fuel. Always use high-quality gasoline with an octane rating of 87 or higher to avoid engine damage. Fill the fuel tank until it reaches the indicated level, being careful not to overfill it.
Pre-Starting Checks for Optimal Performance
Before pulling the starter cord, perform a few essential pre-starting checks to ensure your Sno Tek snow blower is ready for action. Check the oil level using the dipstick and add oil if necessary. Inspect the spark plug and replace it if it appears worn or damaged. Make sure the carburetor choke is in the correct position typically closed for starting a cold engine. Finally, clear any debris or snow from the auger and discharge chute to prevent blockages.
Starting a Sno Tek Snow Blower: Step-by-Step Guide
Now that your Sno Tek snow blower is fueled and checked, it’s time to fire it up. Here’s a step-by-step guide to starting your Sno Tek snow blower:
- **Engage the Recoil Starter**: Locate the recoil starter, typically on the side of the engine. Pull the starter cord firmly and smoothly, avoiding jerky motions.
- **Control the Choke Lever**: If the engine fails to start, adjust the choke lever. Starting a cold engine requires a closed choke, while a warm engine may start with the choke open.
- **Start the Engine**: Once the choke is set correctly, continue pulling the starter cord until the engine starts. You may need to repeat this step if the engine stalls immediately.
- **Let the Engine Warm Up**: Allow the engine to run for a few minutes before engaging the auger and discharge chute. This warming-up period ensures the oil circulates properly and the engine reaches its operating temperature.
- **Engage the Auger and Discharge Chute**: Once the engine is warmed up, squeeze the auger control and engage the discharge chute. The auger will begin rotating, pulling snow into the discharge chute and expelling it through the chute.

Image: www.snowblowersatjacks.com
Troubleshooting Common Snow Blower Issues
Even with proper care and maintenance, you may occasionally encounter issues when starting your Sno Tek snow blower. Here are some troubleshooting tips to help you address common problems:
- **No spark**: Check the spark plug and replace it if it’s damaged or worn.
- **Engine stalls**: Adjust the choke lever; a cold engine requires a closed choke.
- **Inefficient snow removal**: Ensure the auger and discharge chute are clear from debris and snow; adjust the chute angle for optimal snow discharge.
- **Excessive vibration**: Check the drive belt for tears or wear and replace it if necessary.
Expert Tips for Effective Snow Removal
As an experienced blogger, I’ve accumulated some invaluable tips to help you maximize the effectiveness of your Sno Tek snow blower:
- Clear Snow Regularly: Don’t wait until the snow accumulates heavily; clear it regularly to prevent it from becoming packed and difficult to remove.
- Use the Correct Snow Blower Size: Choose a snow blower with sufficient power and auger size for the area you need to clear.
- Adjust Discharge Direction: Direct the discharge chute away from walls, windows, and vehicles to avoid snow accumulation in unwanted areas.
- Maintain Your Snow Blower: Regular maintenance, including oil changes, spark plug replacements, and belt inspections, ensures your snow blower runs smoothly.
Frequently Asked Questions (FAQs) about Sno Tek Snow Blowers
To provide comprehensive assistance, we’ve compiled a list of frequently asked questions (FAQs) about Sno Tek snow blowers:
- Q: What type of fuel does my Sno Tek snow blower require?
A: Use high-quality gasoline with an octane rating of 87 or higher. - Q: How often should I change the oil in my Sno Tek snow blower?
A: Refer to your owner’s manual for recommended oil change intervals, typically every 25-50 hours of operation. - Q: Can I use my Sno Tek snow blower to clear wet snow?
A: Yes, but be aware that wet snow can clog the auger more easily. Adjust the discharge chute angle to prevent snow buildup. - Q: What safety precautions should I take when operating a Sno Tek snow blower?
A: Always wear eye and ear protection, avoid loose clothing, and never operate the snow blower near children or pets.
How To Start Sno Tek Snow Blower
Conclusion
Starting a Sno Tek snow blower doesn’t have to be a daunting task. By following the step-by-step instructions and troubleshooting tips outlined in this guide, you can confidently fire up your snow blower and keep your walkways and driveways clear all winter long. Remember to fuel the machine, perform pre-starting checks, start the engine, and engage the auger and discharge chute. If you encounter any issues, refer to the troubleshooting section or consult your owner’s manual. By adhering to these guidelines and seeking expert advice, you can enjoy effortless snow removal season after season.
So, are you ready to tackle your winter snow removal challenges head-on with your Sno Tek snow blower? Embrace the winter season with confidence, knowing that you have the knowledge and tools to keep your property safe and accessible.
